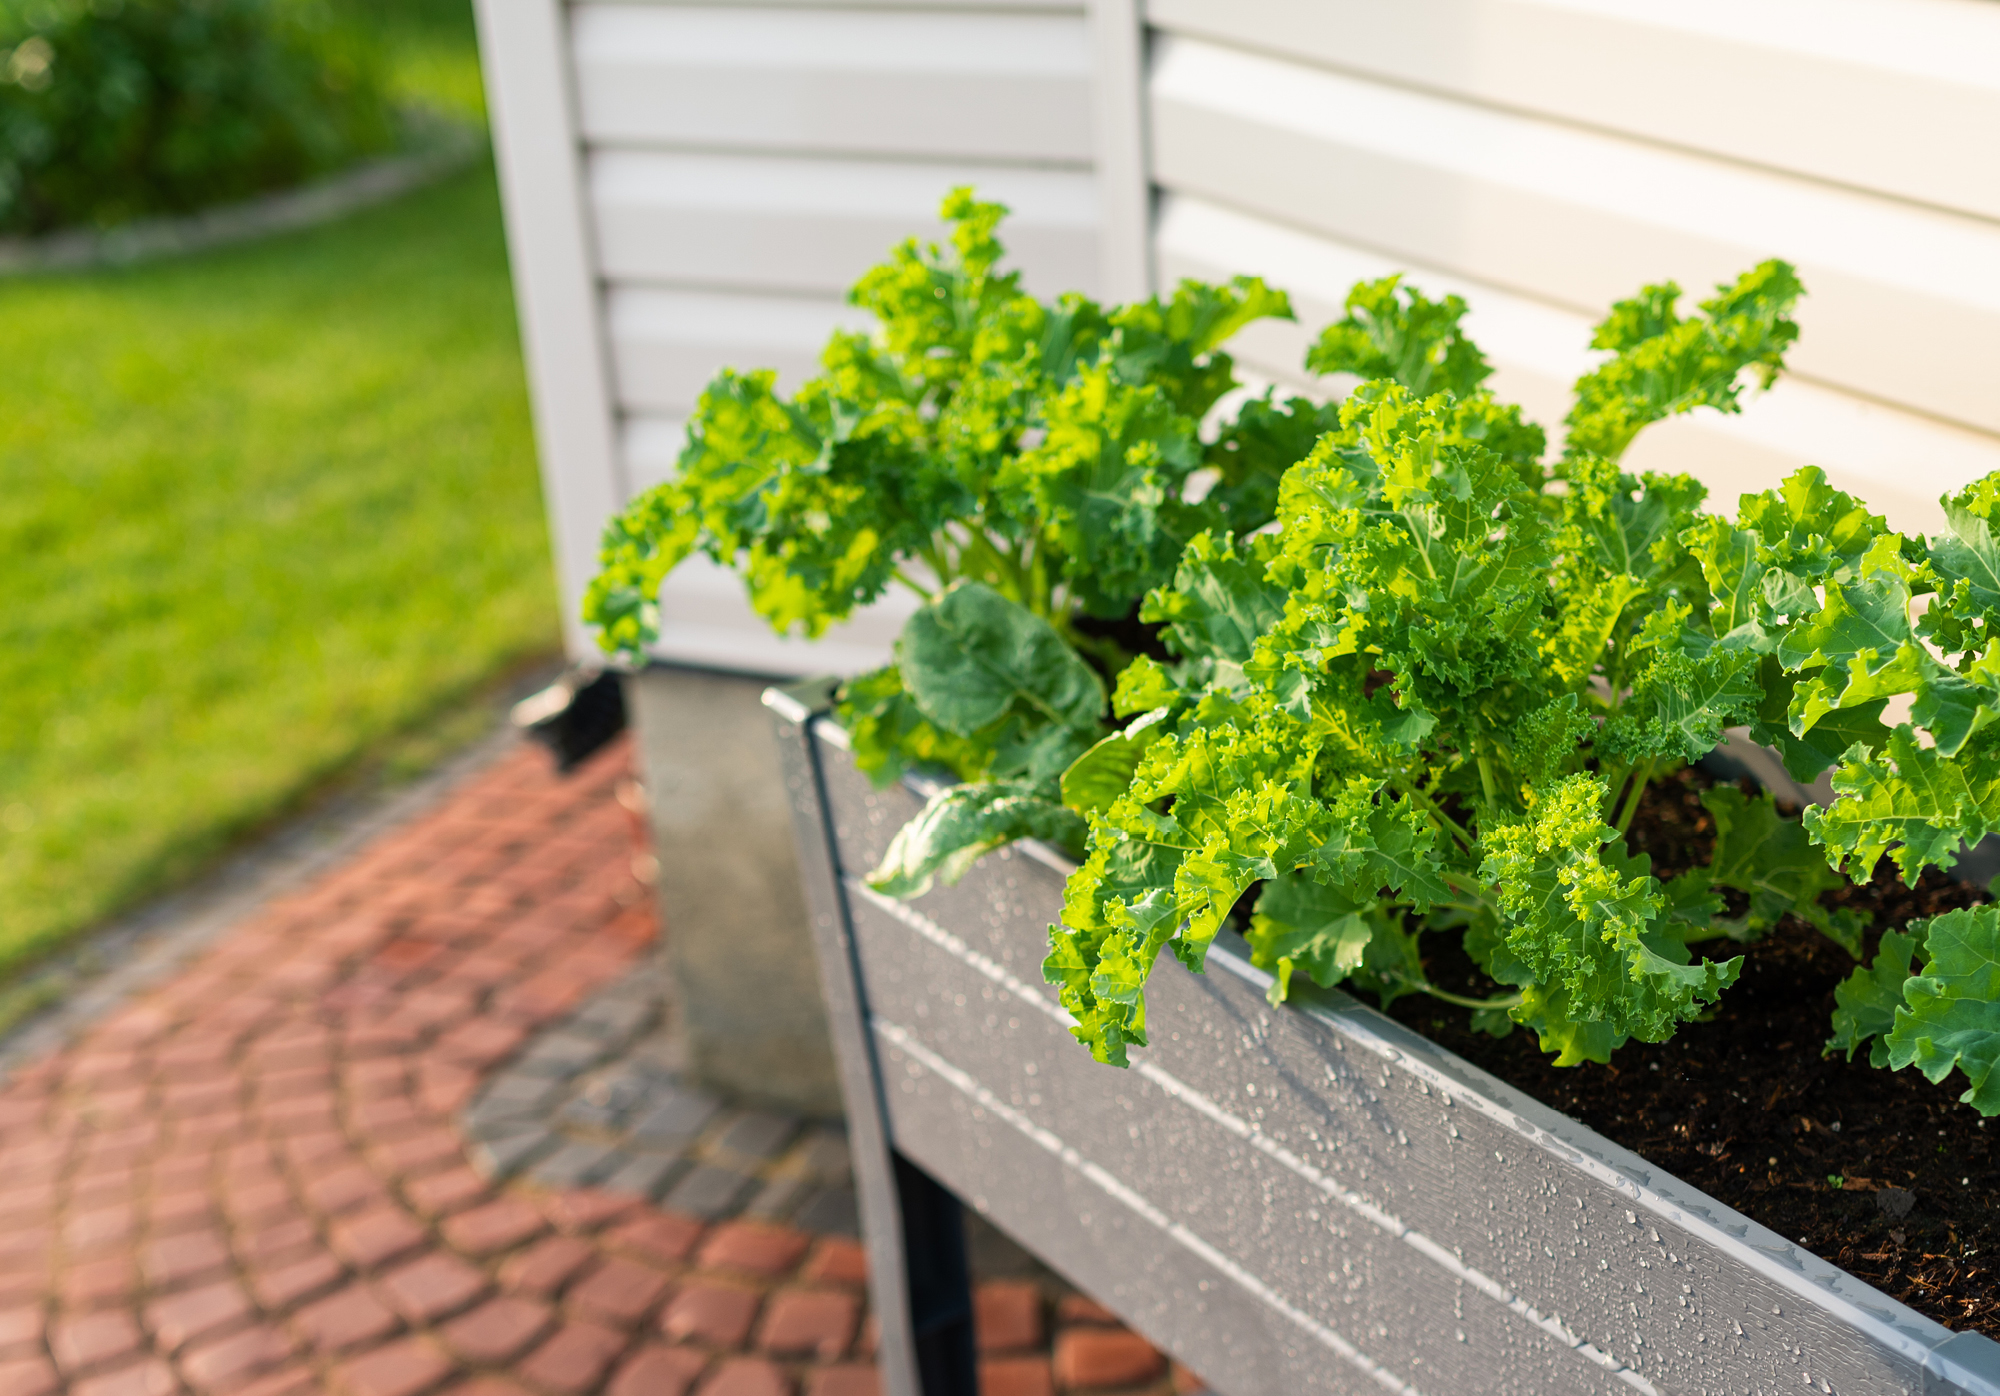
Planter boxes are a great method to improve the look of a home’s surroundings. They’re also an excellent option for small-space gardening. Try this DIY planter box is the perfect home for flowers, herbs and veggies!
Supplies:
- Two 1” x 11” x 72” pine wood panels
- Measuring tape and pencil
- Jigsaw
- Brad nailer and nails (or hammer and nails)
- Drill and wood screws
- Paint and roller
- Two 1¼” x 48” wood dowels
Instruction:
- Grab the measuring tape and pencil and divide the wood panels into the following sizes:
- One: 34” x 11” (bottom)
- Two: 36” x 11” (sides)
- Two: 11” x 11” (ends)
- Now, cut the wood a jigsaw.
- Attach together using a brad nailer. Don’t have a brad nailer handy? Simply use some nails and a hammer to complete this step.
- Once your box is constructed, lightly sand it before you paint the exterior using your favourite summer colour and your roller brush.
- To create the legs of the planter, cut each dowel in half using a jigsaw. Find and mark the center of the dowel and drill a small hole into the base of each one.
- Mark the location of each leg 3” away from the edges on the inside of the finished planter. Drill a small hole for each leg at the bottom of the box. Grab the dowels and, using the wood screws, attach them from above.
- Add your plants and enjoy!


